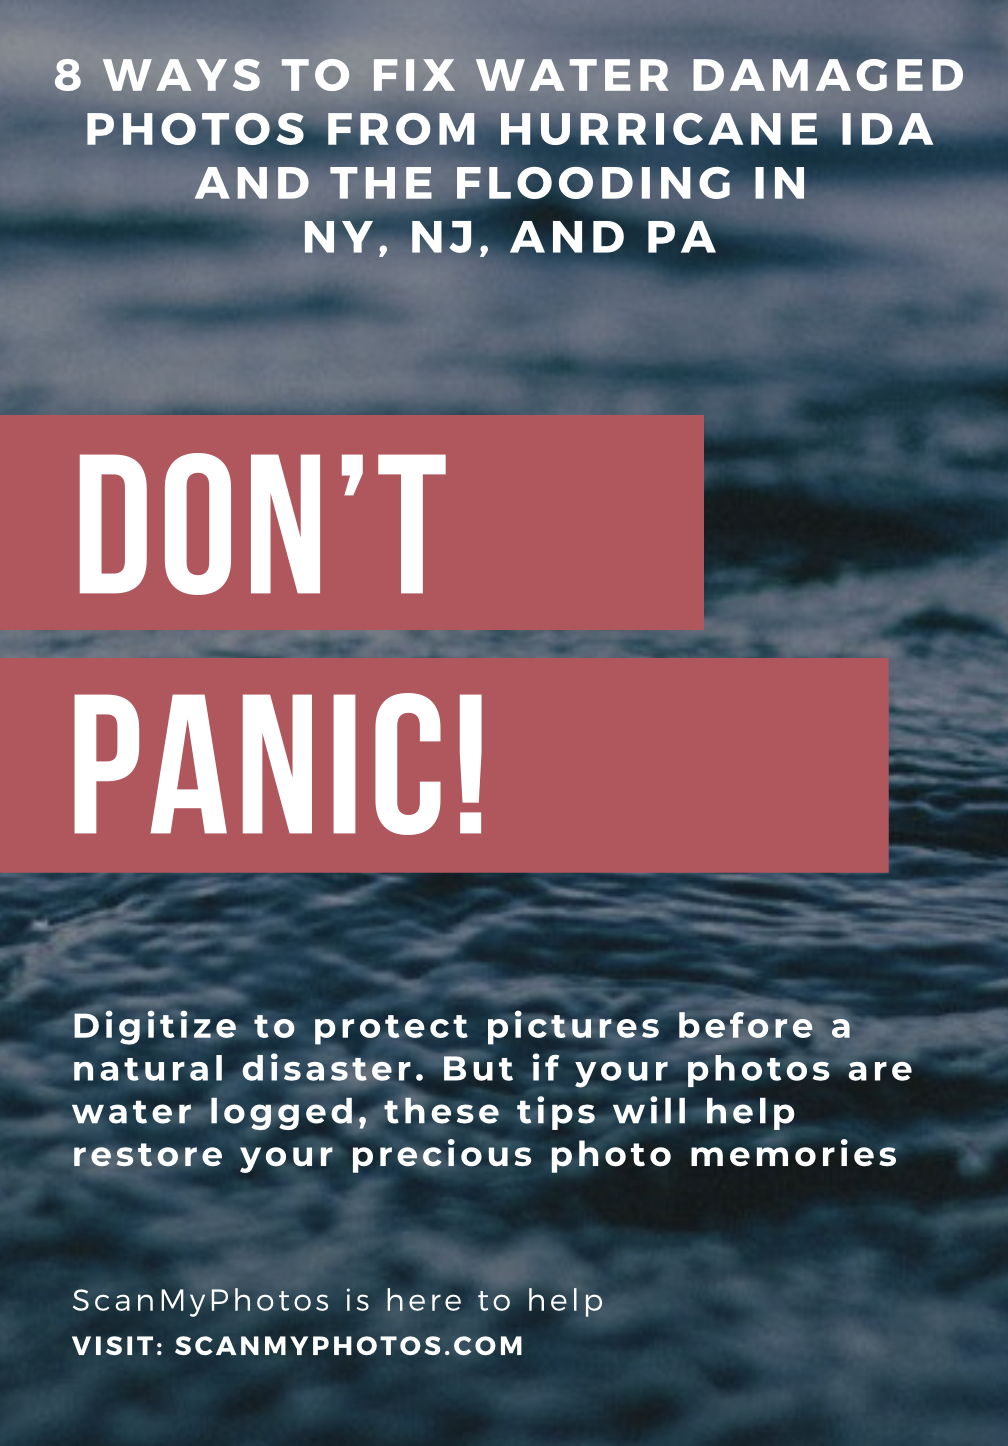
In our 30+ years of protecting family photos, ScanMyPhotos has never before heard from so many affected by the devastation caused from this week's natural disasters.
Beyond property damage and lost lives, BILLIONS of (not yet digitized) pictures were destroyed in the past few days from the hurricane, wildfires, tornadoes, and now East Coast flooding.
Friend, planning ahead to digitize your photos, videos, film, slides, and 8mm movies are often a procrastinated project. This week's natural disasters are a preparedness reminder.
Stay Safe!
Eight Ways to Fix Water Damaged Photos
ONE
Don’t let the photos dry out! As your photographs dry, they will stick to each other and any other materials it may be in contact with. You’ll find it impossible to pull them apart without causing potentially irreparable damage.
TWO
Get to work as soon as possible. Your photographs shouldn’t stay wet for more than two or three days. For added archival safety, use your smartphone camera to snap pictures of each picture before you try pulling anything apart or doing anything that may further damage the photos.
Order Today! Enter "50OffScan" at checkout. Limit four boxes. We mail today if ordered before 3 PM (PDT). You can return separately over nine months. FREE round trip delivery
THREE
While working on your photos, store all in a container full of cold, clean tap water; the colder, the better. Do not add chlorine to the water. Change the water every day. The chlorine in tap water is enough to prevent the growth of fungi and other biological threats.
FOUR
Rinse your photos in a container of cold, clear running water. Don’t run the water directly onto the photos because that could damage the chemical emulsion, causing permanent damage. Keep rinsing them until the run-off water is clear.
FIVE
Carefully remove your photographs or negatives from the water one at a time. Pull the film negatives out of their plastic wrappers and gently separate all. PLEASE DO NOT FORCE THEM APART. Separate as many as possible before returning them to the cold water and starting on another batch. Repeat the separate-soak cycle as many times as necessary. However, sometimes you may not be able to separate materials without force. In those cases, you may have to accept the resulting damage.
SIX
Once your materials are separated, store all in water until you can wash them individually, using cold, clean running water. Use cotton balls, a soft cotton cloth, or a soft foam rubber brush to remove foreign objects if needed. Rinse your photographs or negatives one more time after cleaning is complete.
SEVEN
Hang-dry prints and negatives from a hanging cord or clothesline. Make sure they will not be exposed to dust. As an option, special solutions are available that facilitate uniform, spot-free drying when applied to negatives and slides.
EIGHT
If your prints curl while drying, wet the paper side (NOT the emulsion!) with a moist sponge. Place each one between two pieces of acid-free paper or photo blotters, and leave them under a flat, heavy object for a day or two.